Shopping Cart


The first thing to do to install your winter cover is to install the anchors that will be placed in the corners of your pool. To do this is very simple, first you must mark where the cover will be once it is installed, to do this you only have to measure the requested margin (normally 15 cm) as shown in the image.
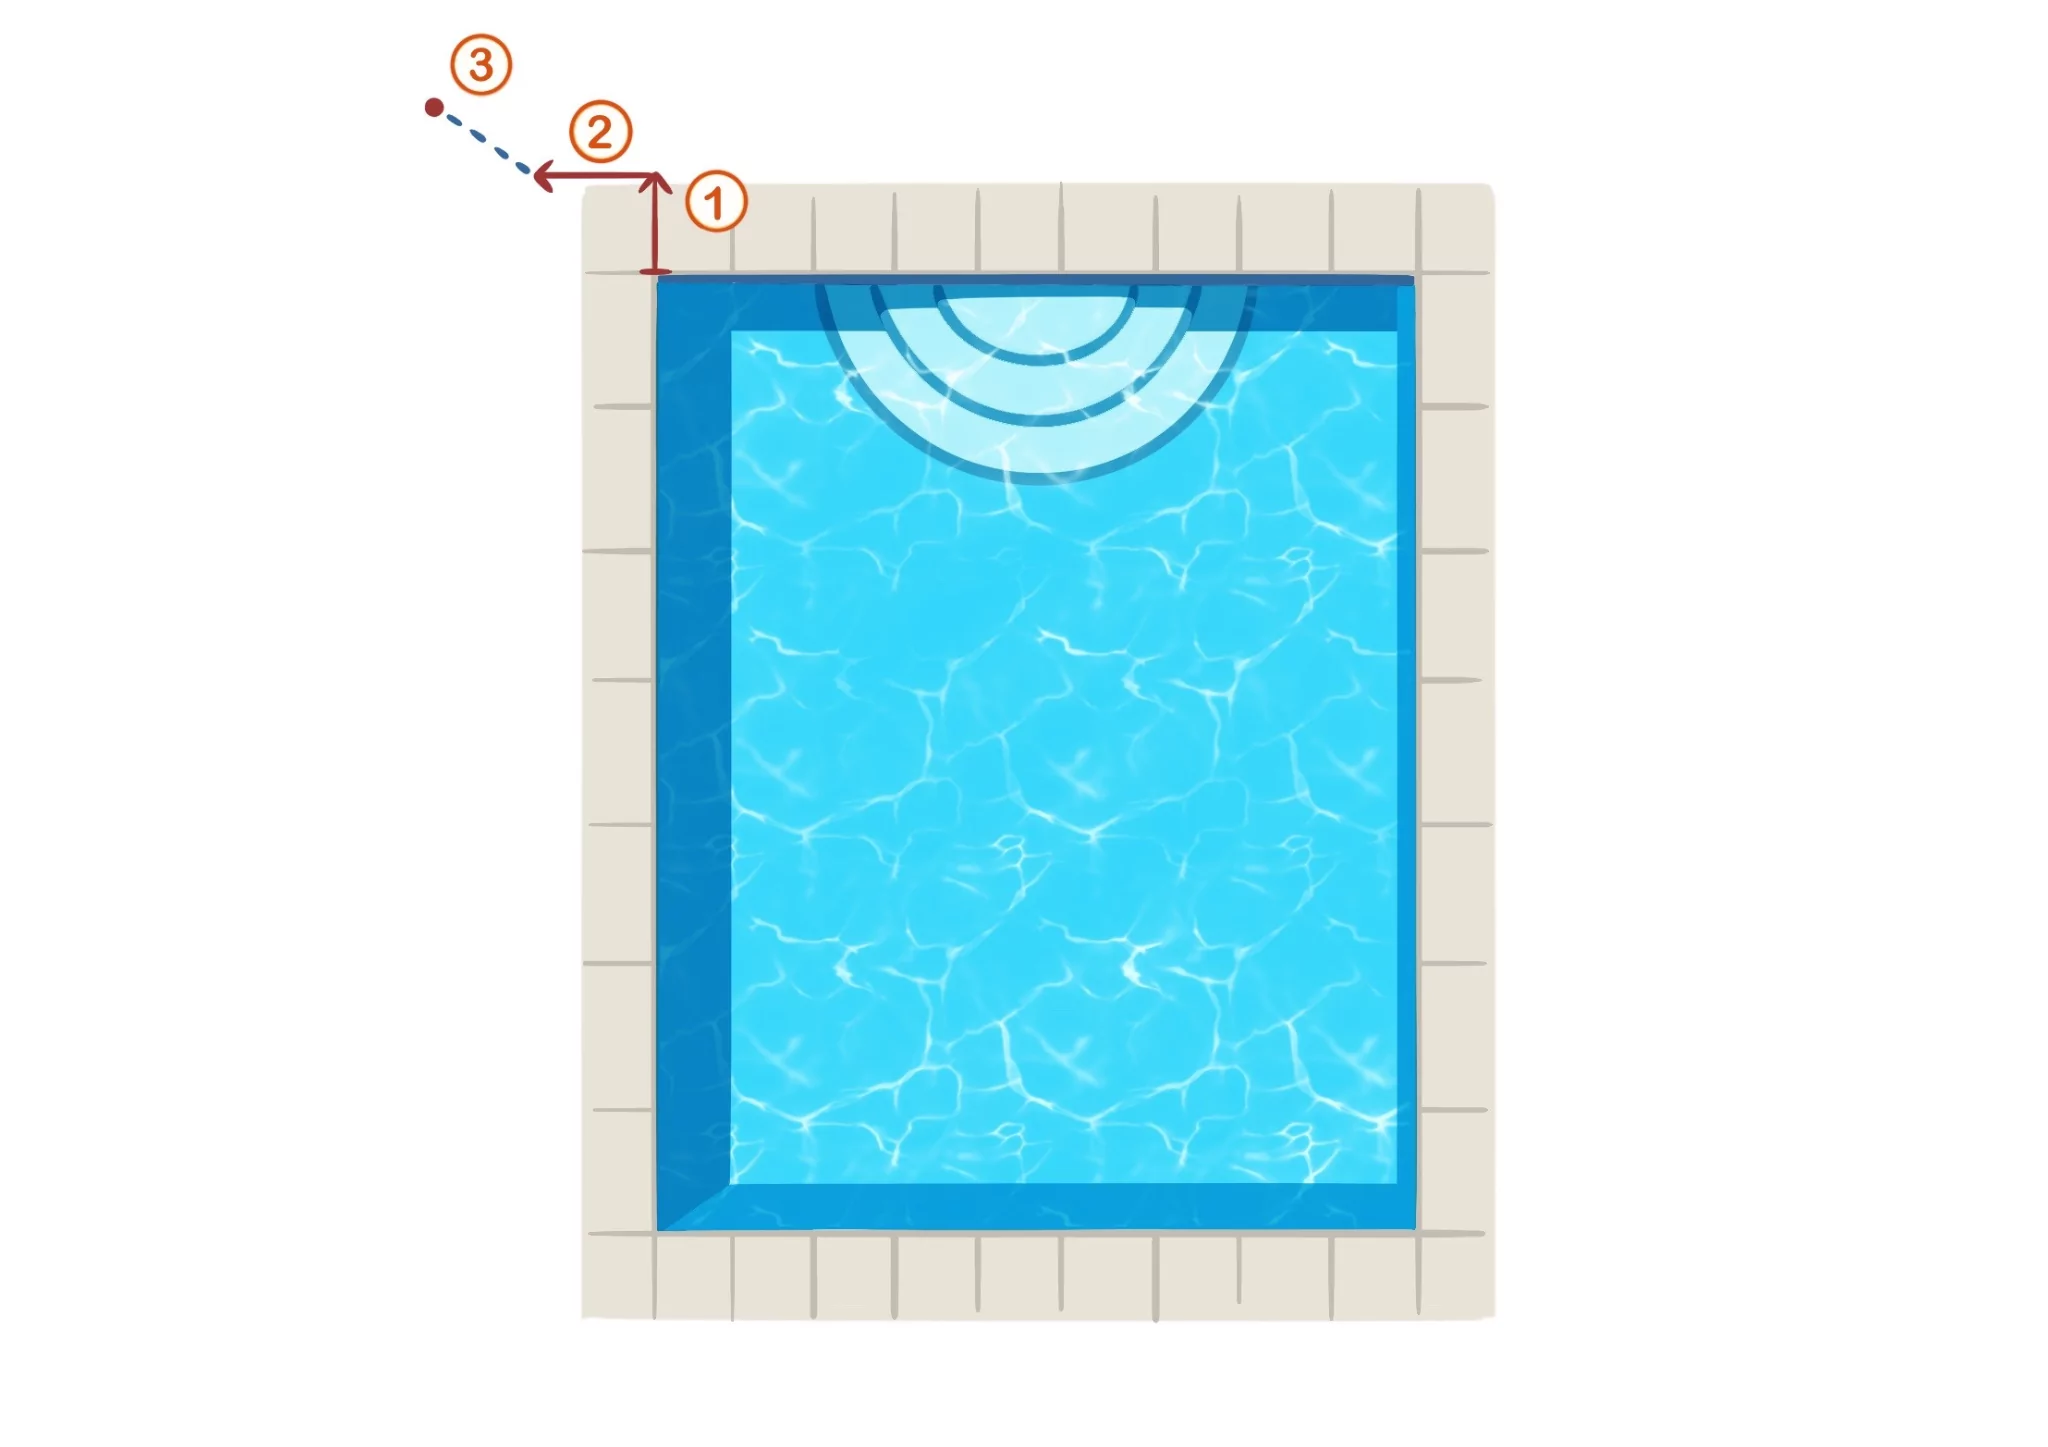
1. Measure the requested margin from the corner of the pool as shown in the image and mark the point.
2. Measure the requested margin from the previous mark to the outside as shown in step 2 of the picture and mark the point. In this way we locate where the corner of the tarpaulin is going to be.
3. Mark where you want the anchorage. As a general rule it should be about 15 cm or less from the corner of the tarpaulin that we marked in the previous step.
After marking the four corners, drill the holes and install the anchors in the corners.
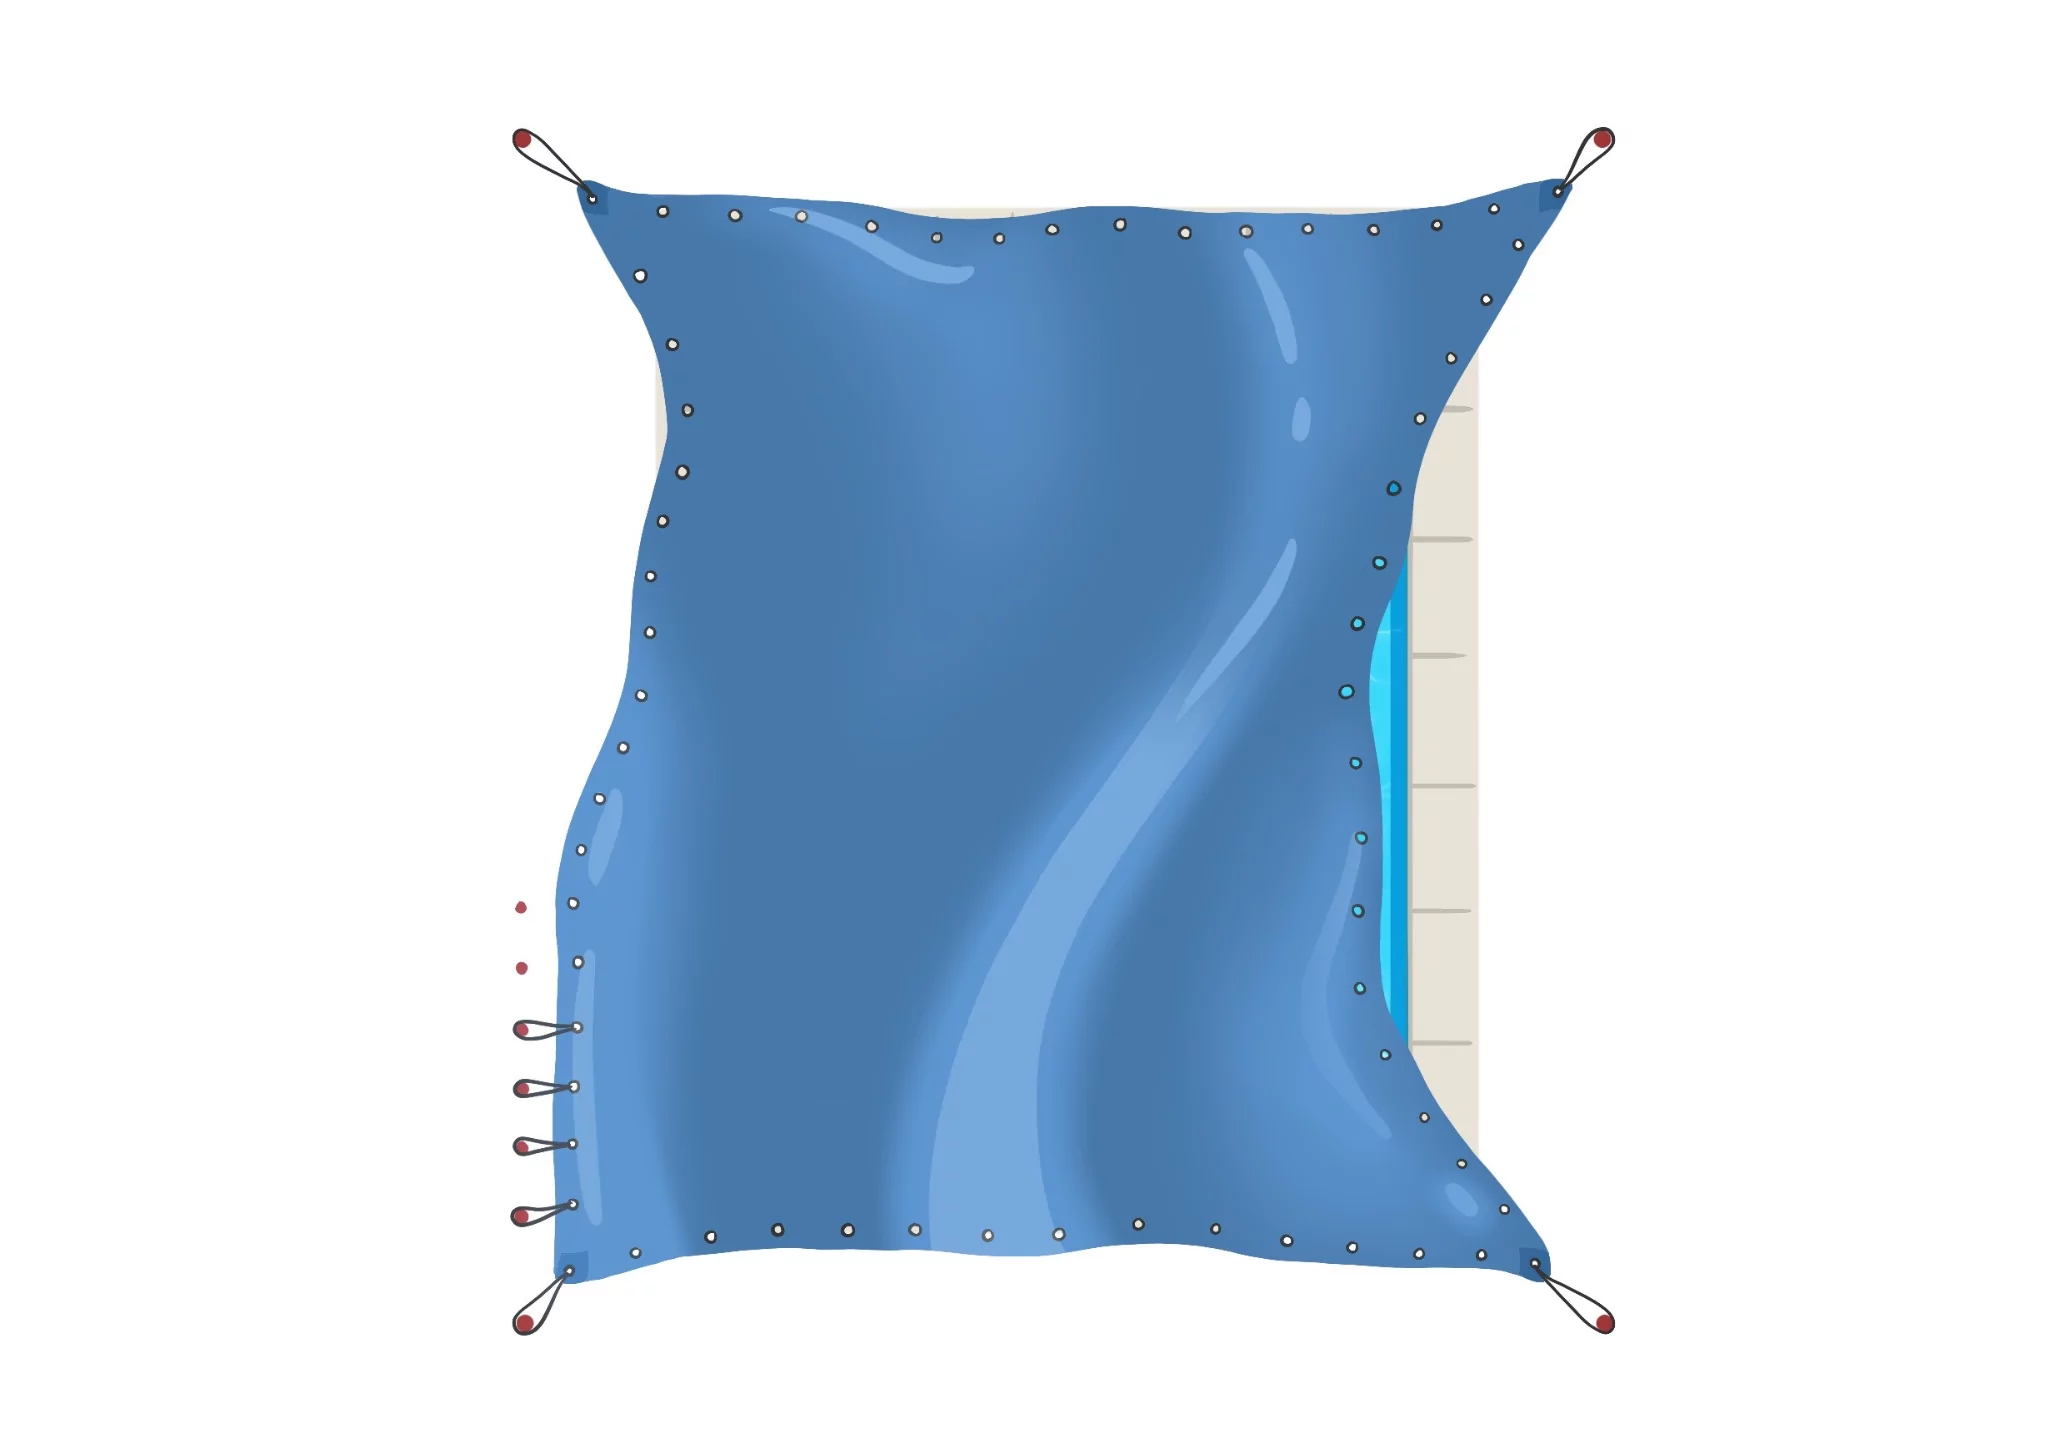
We will place the turnbuckles in the corners as if they were a loop, leaving the plastic parts under the cover. This way the aesthetics will be cleaner.
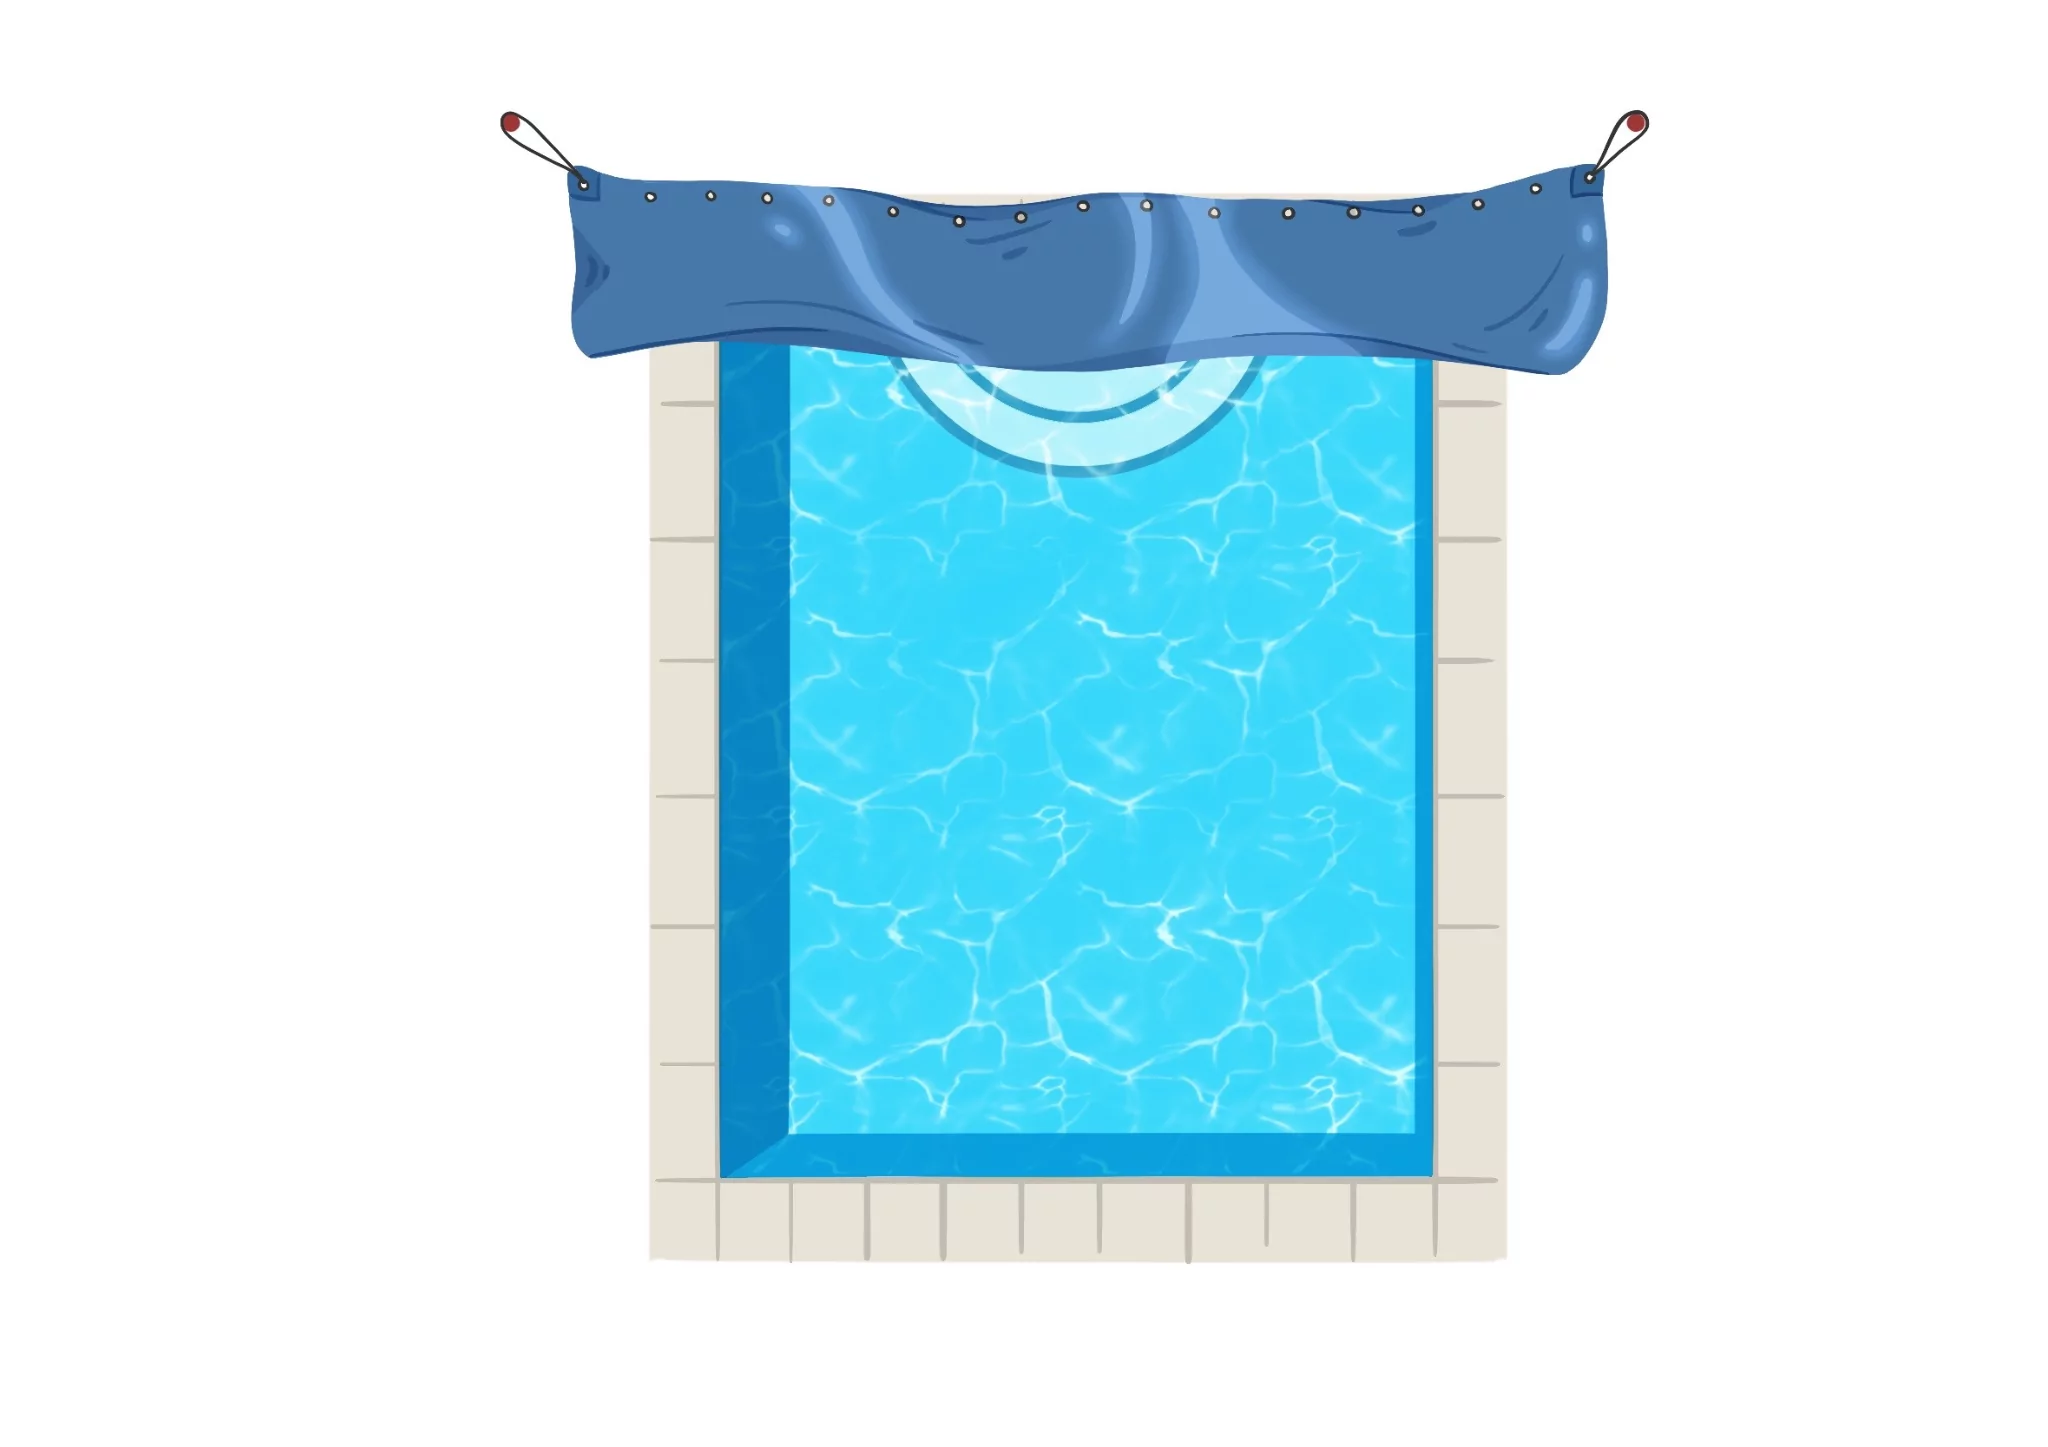
Then we will fix the tarpaulin to the corner anchors with the turnbuckles, as shown in the picture. This way we will be able to handle the cover more easily without it falling into the pool.
Once we have fixed the tarpaulin on one width, we must fix the cover on the opposite width. This may be the heaviest point depending on the size of the pool. For ease of use, we recommend that this step is done with the help of another person.
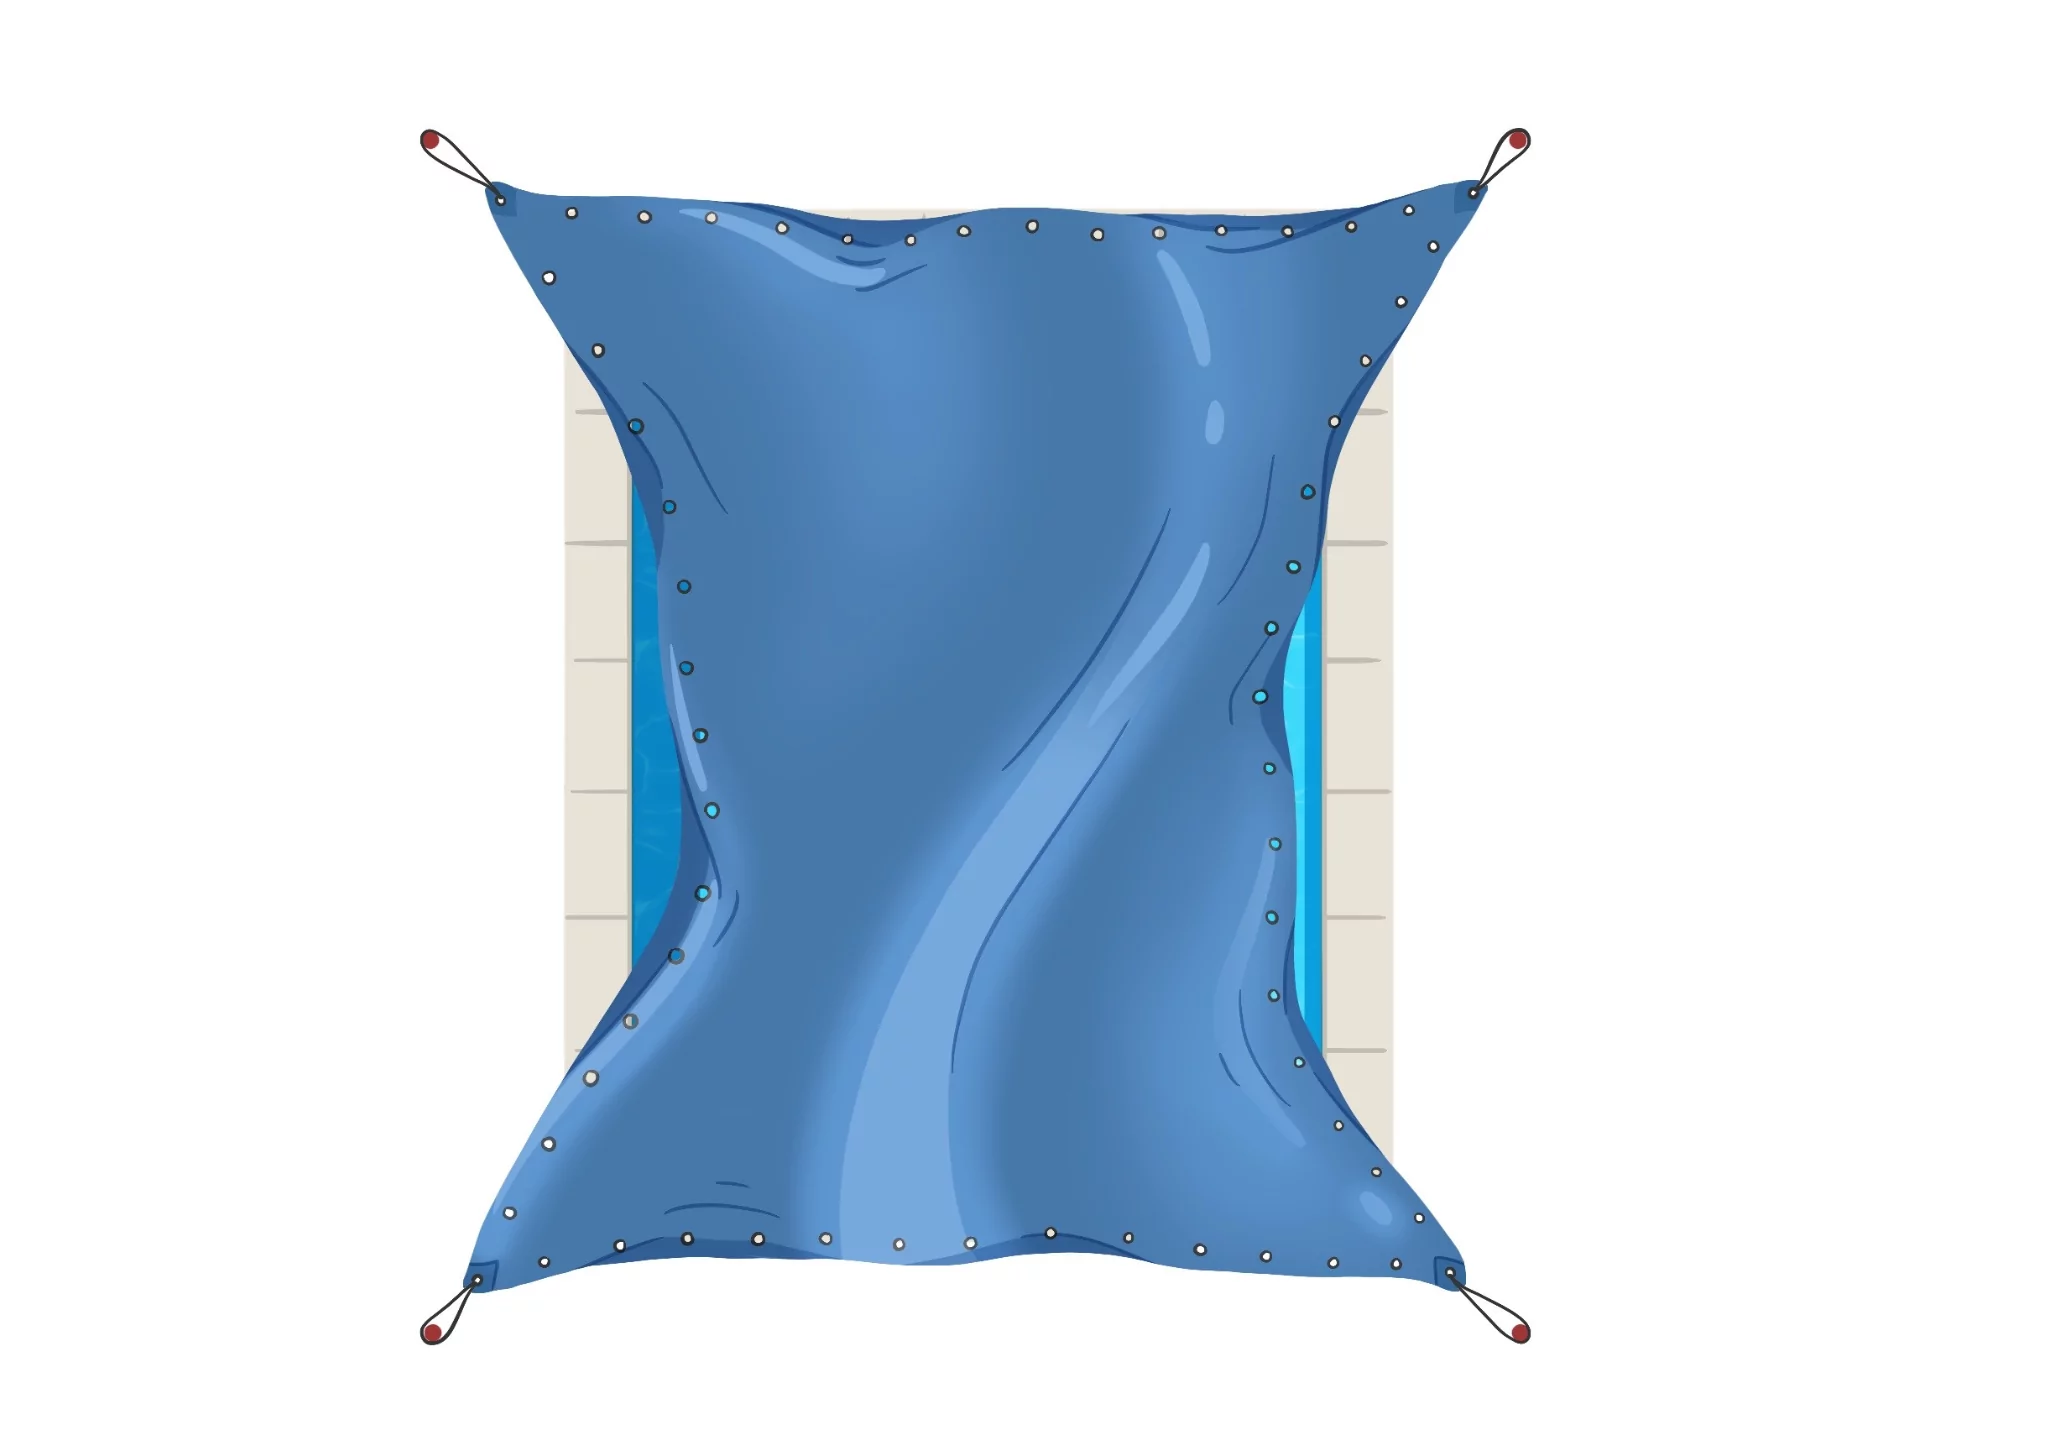
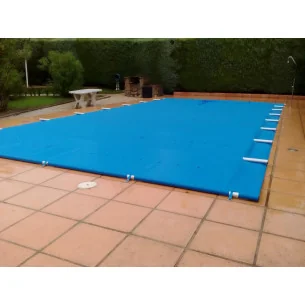
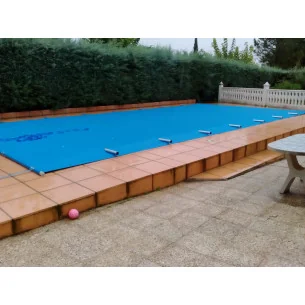
Once the 4 corners have been fixed, the cover will be much easier to attach and the risk of it sinking into the pool will be eliminated.
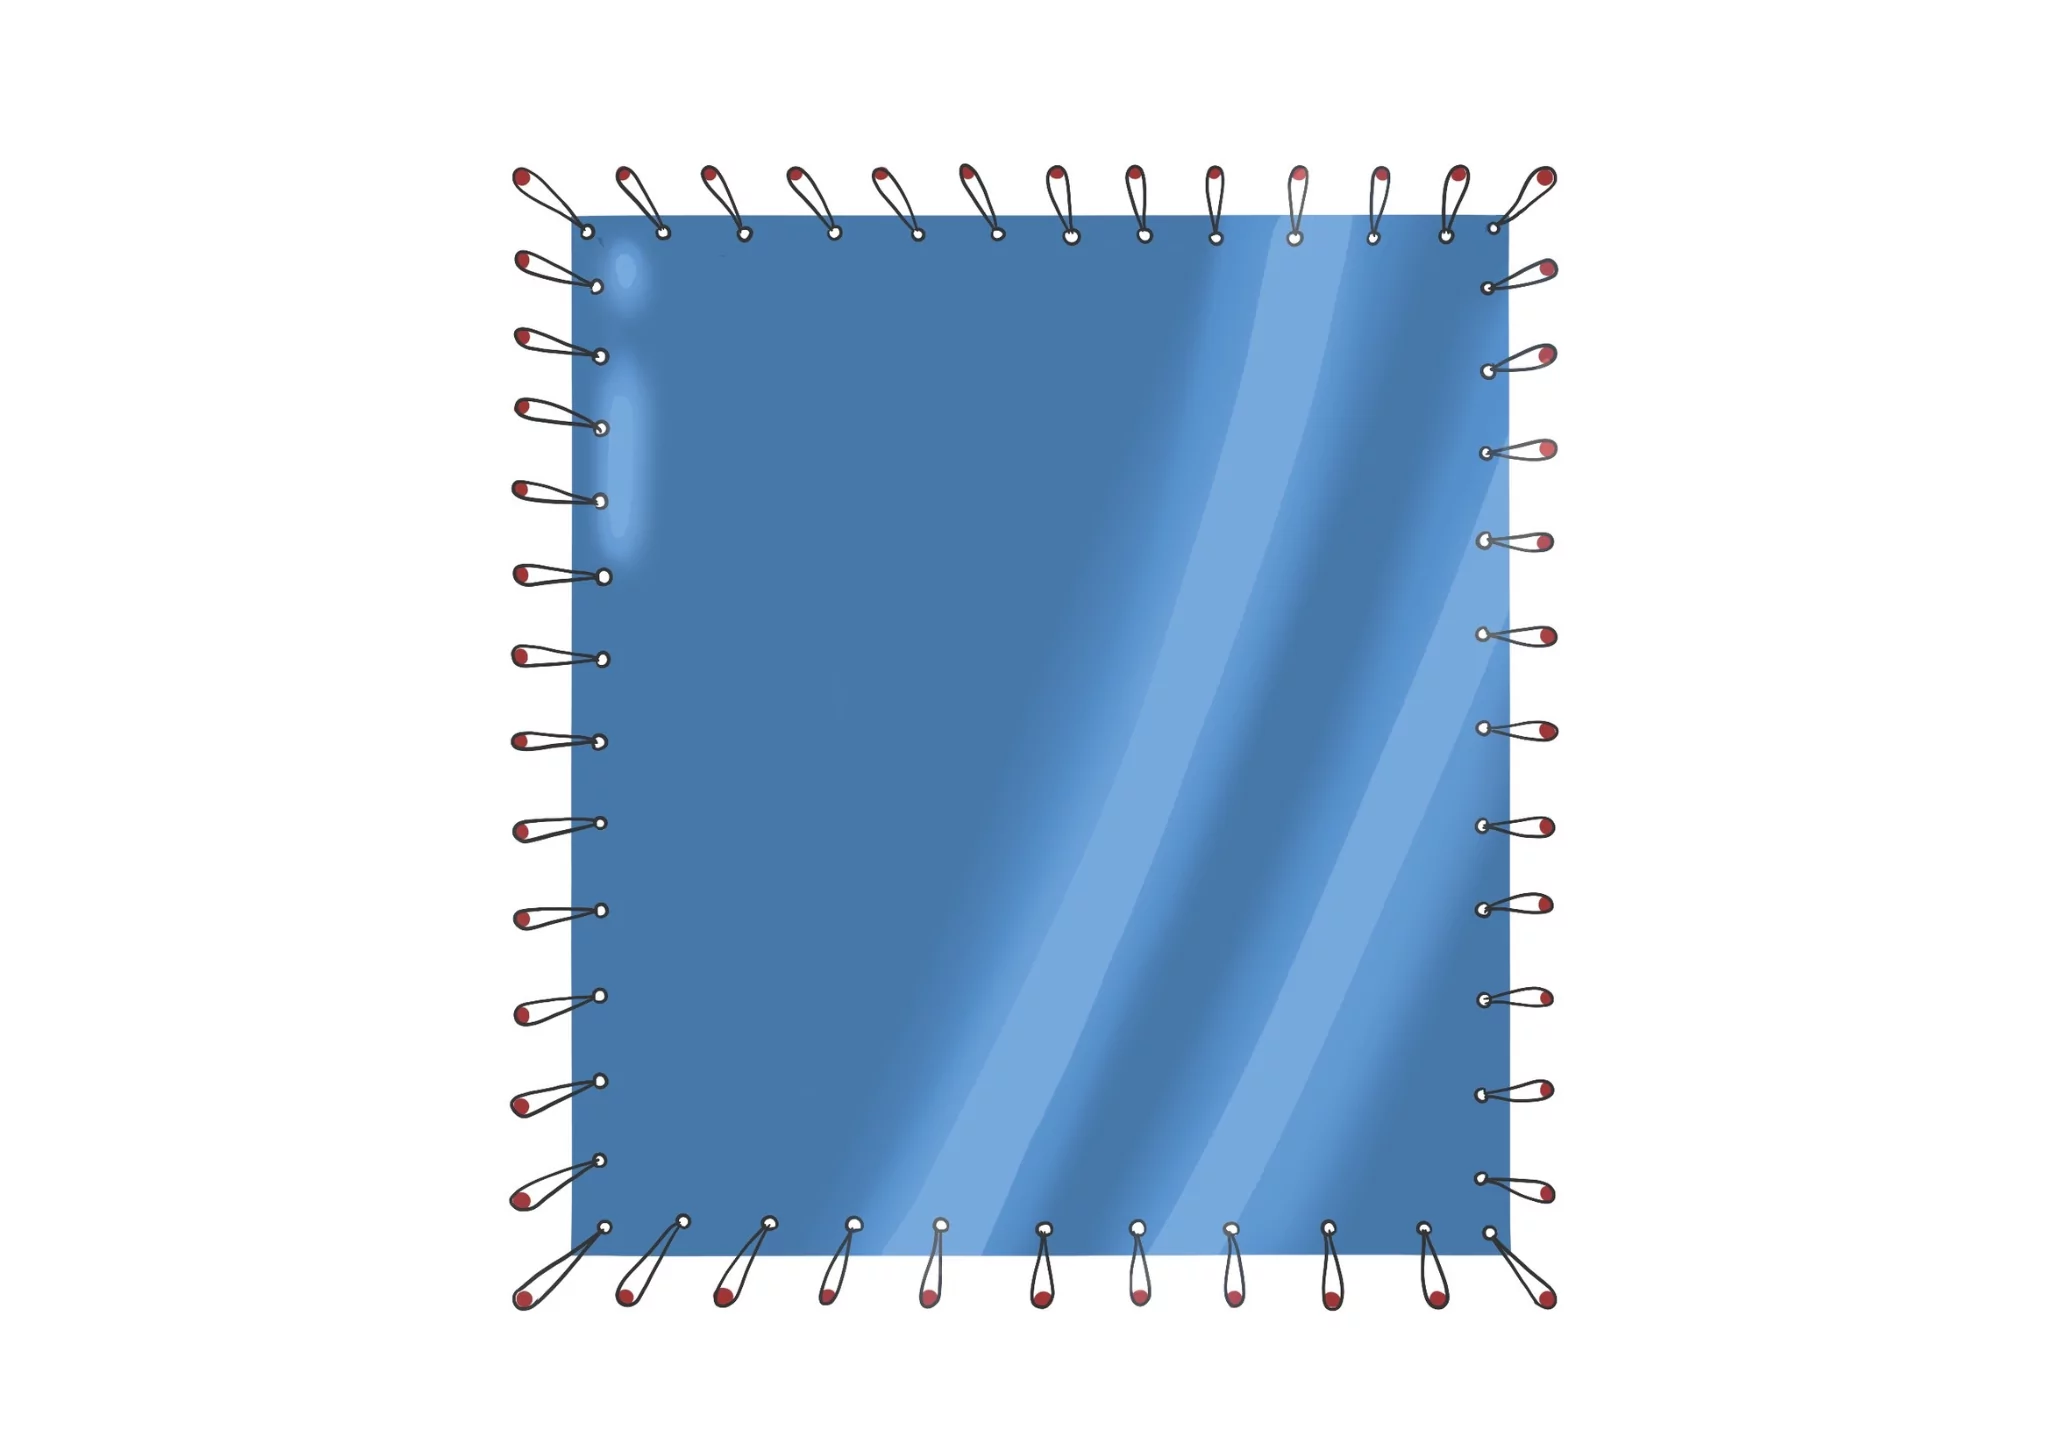
With the cover already in place on the pool, the only thing left to do is to fix the rest of the anchors. To do this we can follow the steps in point one of the tutorial to locate where to place the anchors, installing each anchor in front of each eyelet. We will place the turnbuckles in each eyelet and we will fix one by one all the anchor points of the pool.
It is advisable to do this one by one and side by side.
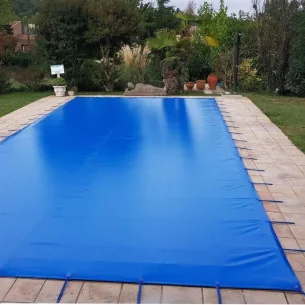
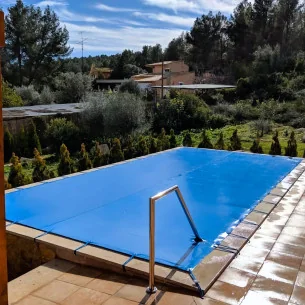
and that's it! You can now enjoy your cover.
The installation will be similar to the one shown in the image above.
We hope this tutorial has been helpful. We remind you that our customers have after-sales assistance, so you can always contact us to resolve any questions.


Comments (0)